Step #1: Quick Start Tutorial

#1 Gather Your Supplies!
First, you'll need a flat, stable area to make your fuse bead design. Be sure to pick a place that is in a low-traffic area to prevent accidents that could ruin your project. This tutorial will not cover the Tape Method.
pegboard
household iron (no water)
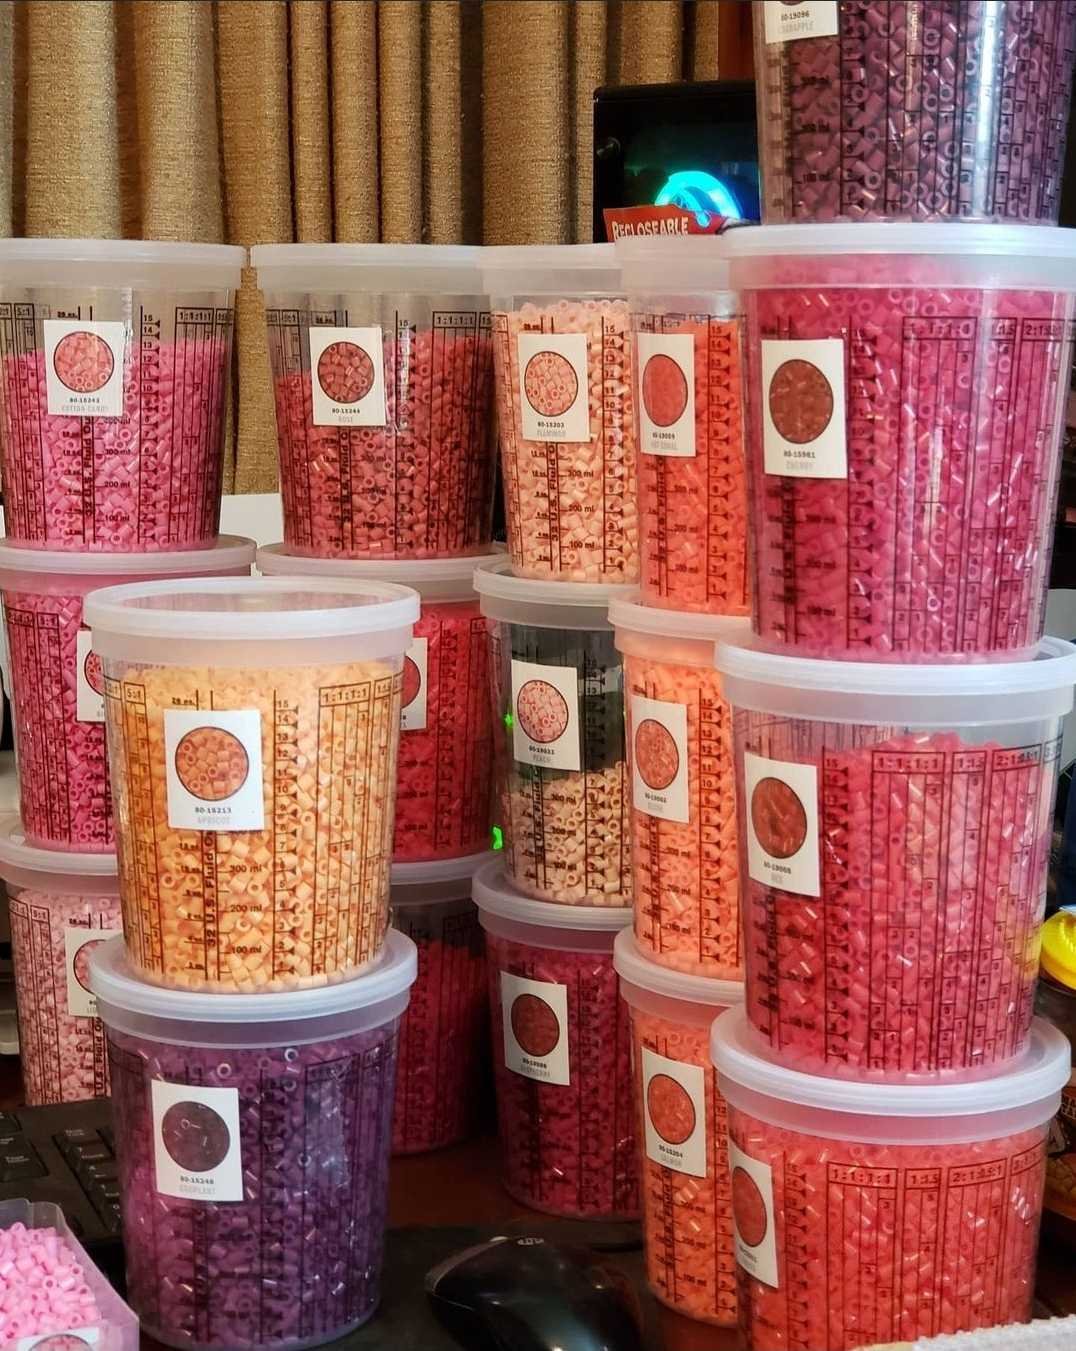
fuse beads
parchment paper
something heavy and flat like a large book
tweezers (optional)
#2 Pick a Design!
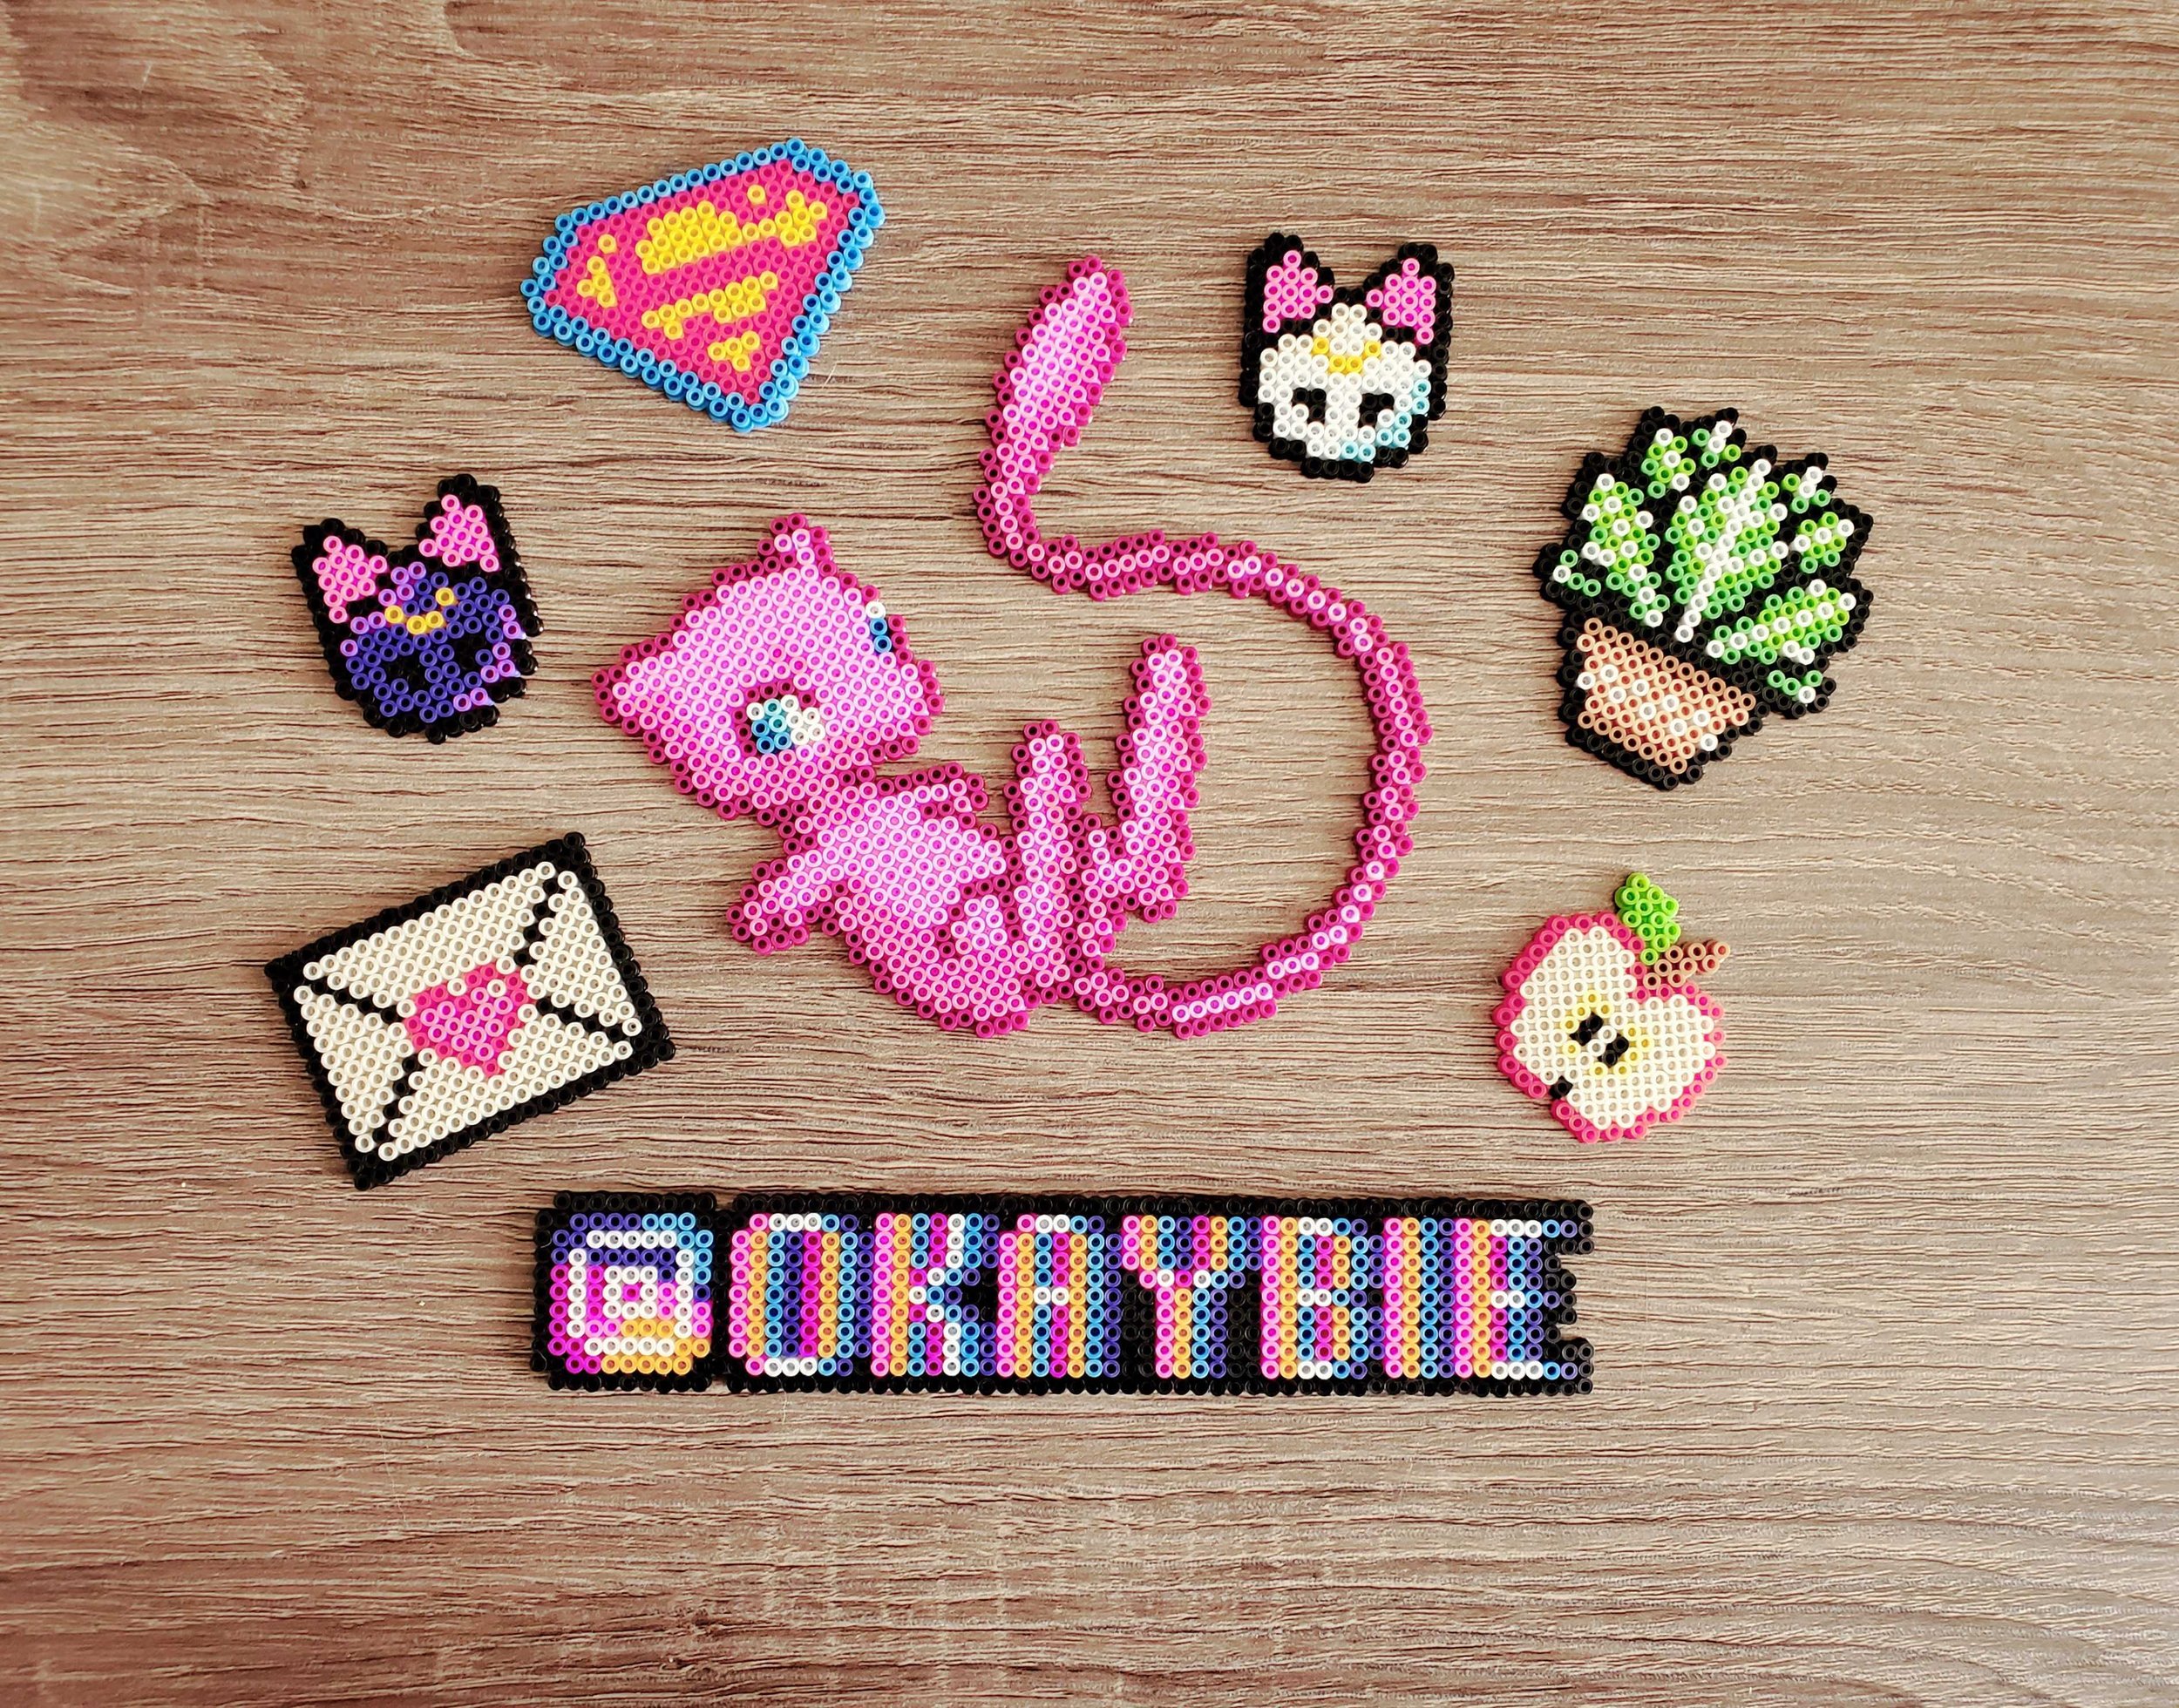
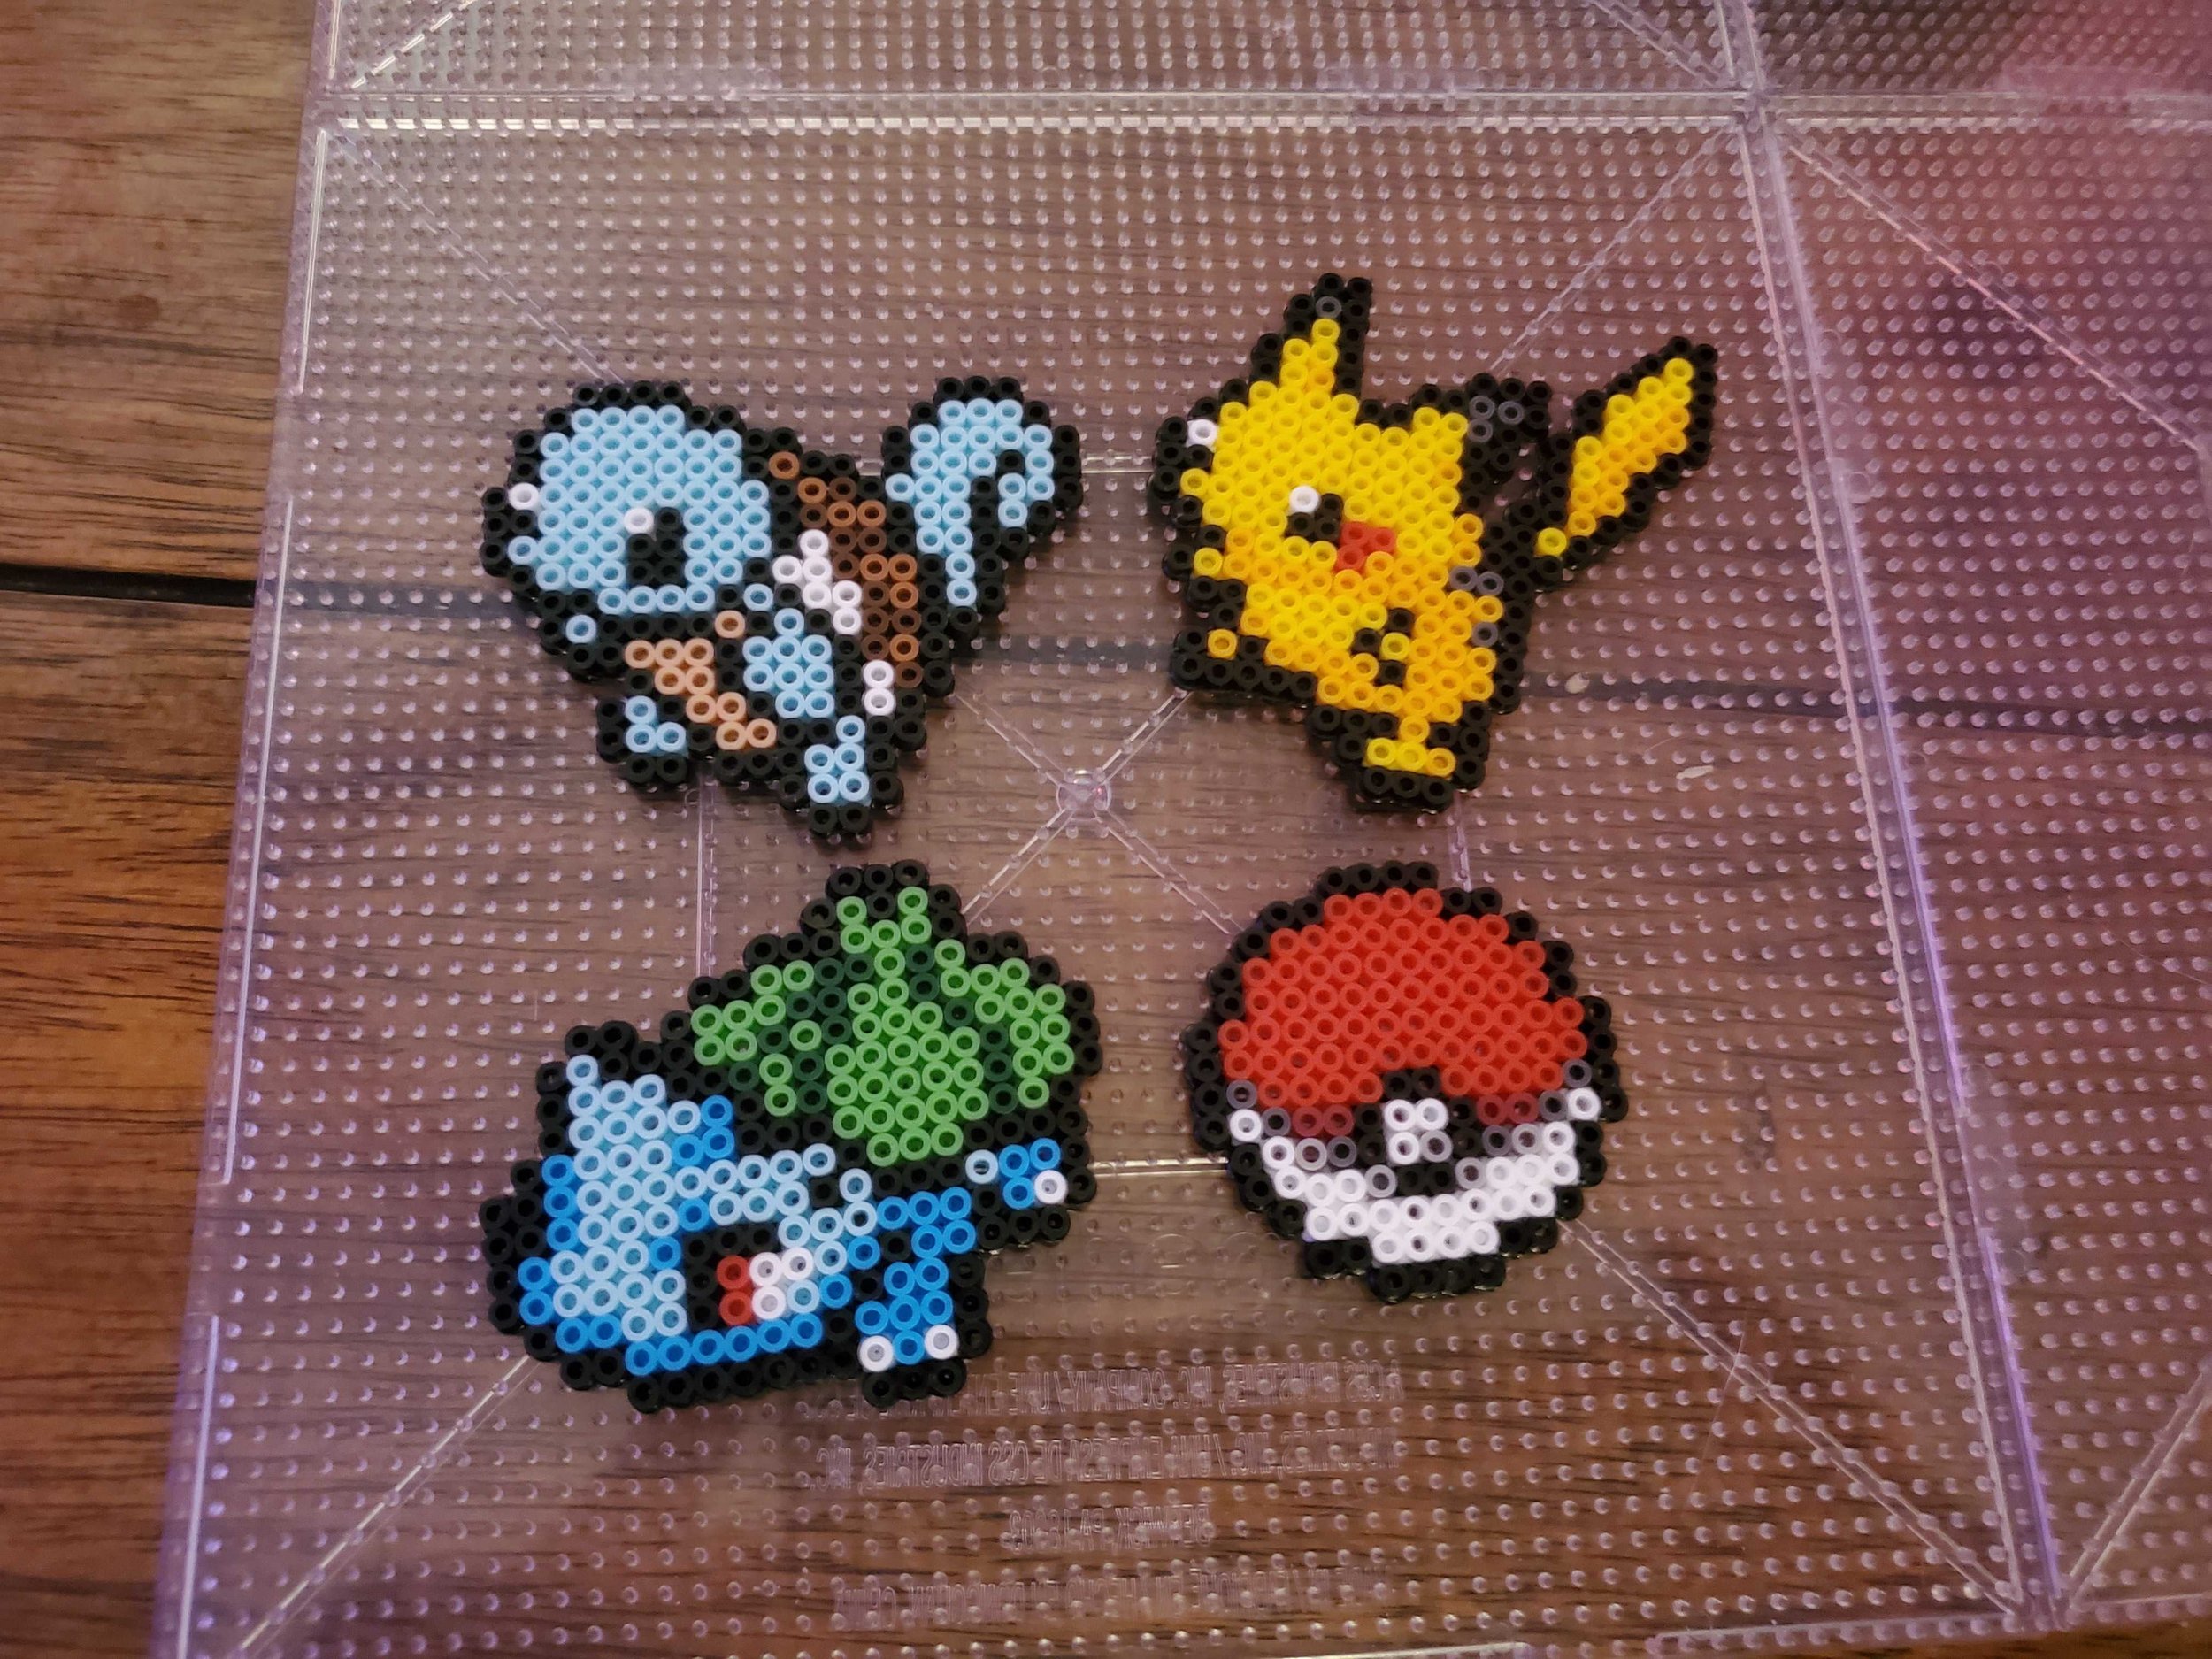
Fuse bead designs can be found everywhere. Many fuse beads brands sell special kits for specific designs such as Baby Yoda. You can also find official designs on Perler’s website with PDF printouts. The Perler patterns are meant to be used underneath clear pegboards as an easy template but these patterns are usually outgrown pretty quickly. The best patterns are ones from Pinterest, Google, Instagram, ect. These are just pictures of already-made designs and don’t include official patterns that can be used under the pegboard – you’ll have to essentially ‘eye-ball it’ from the pictures.
Once you have a pattern, choose your colors. If you’re making a Pikachu and you do not have the perfect shade of yellow feel free to use a color that is similar or just make a purple Pikachu!

#3 Bead Your Pattern!
Use your tweezers or fingers to place the beads on the pegboard. If you’re using an official pattern, place the pattern under your clear pegboard to follow the design, or create a freeform design of your own. When using a pattern beneath your pegboard, it's important to make sure the pattern is properly aligned with the pegs. Each bead represented by the pattern should center around a peg.
Remember, the beads do not go between the pegs. The pegs should go through the center hole of the beads.
Want to know more about designing patterns? Design It.

#4 Fuse Your Beads!
Now you have a finished design.
In this tutorial you will be melting your beads directly on the pegboard. If you want to remove your design from the pegboard before melting, please take a look at the Tape Method.
Grab your (waterless) iron and parchment paper. Heat the iron to a medium setting and tear off a piece of parchment paper large enough to cover the whole project. When your iron reaches temp, place the paper over your design and use your iron to heat the beads. Move the iron in circular patterns, and be sure to not stop moving your iron. Continue this for about 10-15 seconds until the beads have melted together. You can lift up the parchment paper to check the melt. Be sure to keep your iron flat and not to touch the plastic pegboard with the iron.

#5 Melt the Other Side!
If you like the the unmelted side look, you can skip this step.
Next, remove your project from the pegboard and lay it on a flat, heat-resistant surface on the opposite side of the one you just melted and repeat step #4 to your desired melt.
Instagram @crazee.bunny
#6 Flatten Your Beads!
The larger the project the more it wants to curl. Keep your flat heavy object close at hand before ironing. As soon as you have your desired melt, place your object (e.g. book) on your finished product and allow to cool.
Congratulations on completing Step #1!
You may now proceed to Step #2: Bead Tools!
Hello! I pay for this website 100% out of pocket. If you found any of this information helpful please consider donating $1 to my Venmo @okaybie to help support this website.
–Thank you!